
現在のDocker Desktop for WindowsはWSL2とシームレスに動作できるようになっています。
はじめに
ここではDocker Desktop for WindowsをインストールしてWSL2で使用してみようと思います。
記載は公式サイトをもとにしています。
前提として以下のシステム要件であることが必要です。
- Windows10 バージョン2004、ビルド18362以降であること
- WSLが有効で、LinuxをインストールしWSL2で動作していること
- Linuxカーネル更新パッケージがインストールされていること
Docker Desktopのインストール
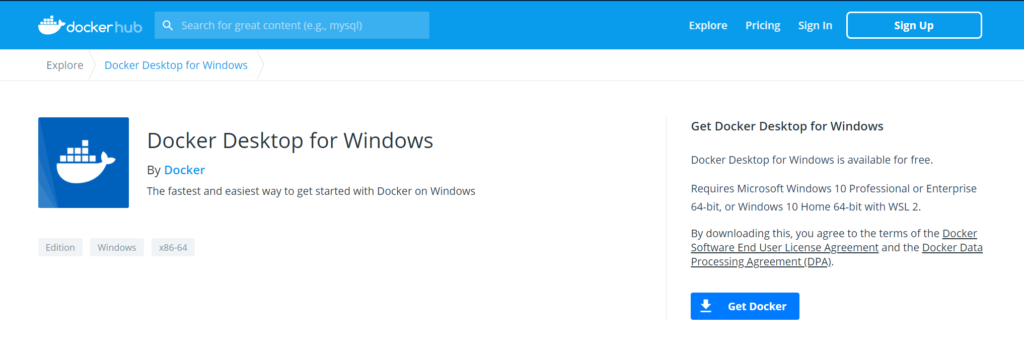
Docker公式サイトからDocker Desktop for Windowsをダウンロードしインストールを実行します。
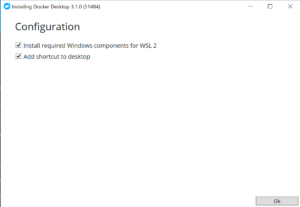
「Install required Windows components for WSL2」にチェックが入っていることを確認しOKを押します。
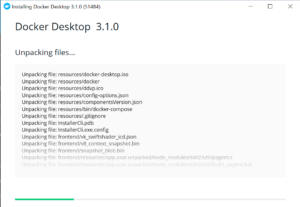
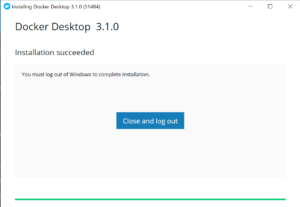
しばらくするとインストールが終了しログアウトを求められます。
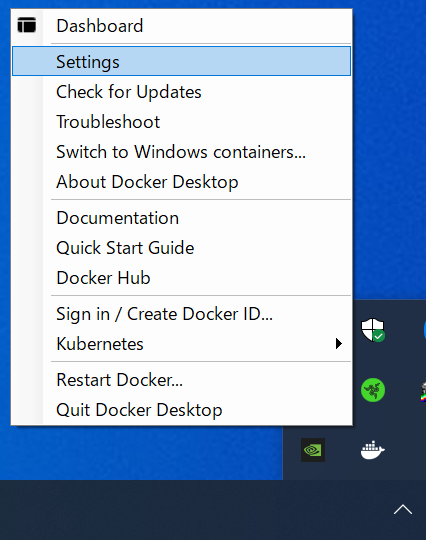
ログインするとDocker Desktopは自動で起動しますが、起動していない場合はスタートメニューからDocker Desktopを起動します。
そして非表示になっているアイコンメニューからDockerアイコンを右クリックして、表示されるメニューからSettingを選んで設定画面を表示します。
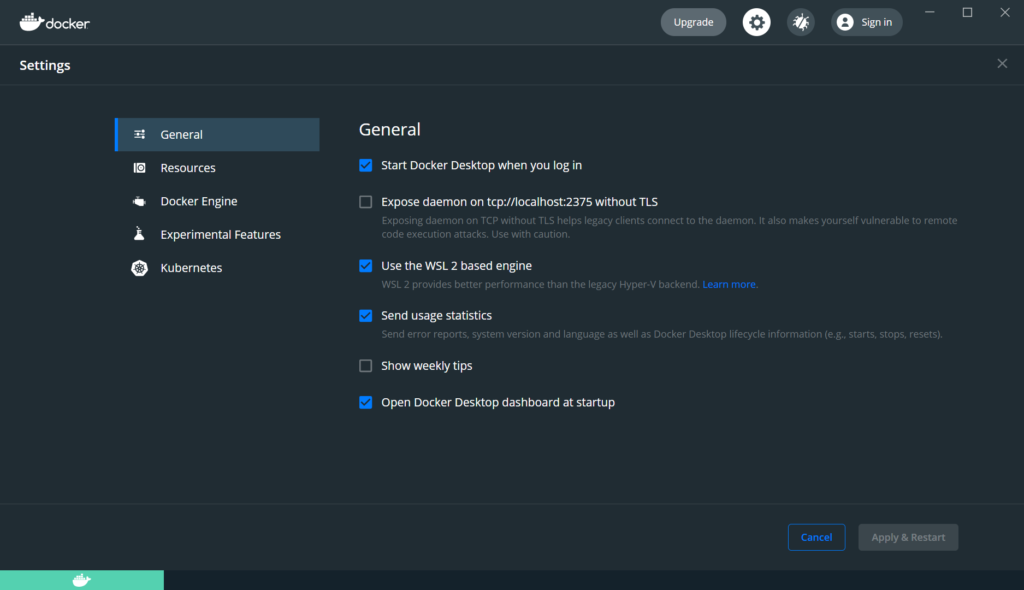
設定画面で「Use the WSL2 based engine」が有効になっていることを確認します。
そのあと「Resources」-「WSL INTEGRATION」を選択し、「Enables integration with additional distros:」以下に表示されているLinuxからDockerを使用するものの設定を有効にし、「Apply & Restart」ボタンを押します。
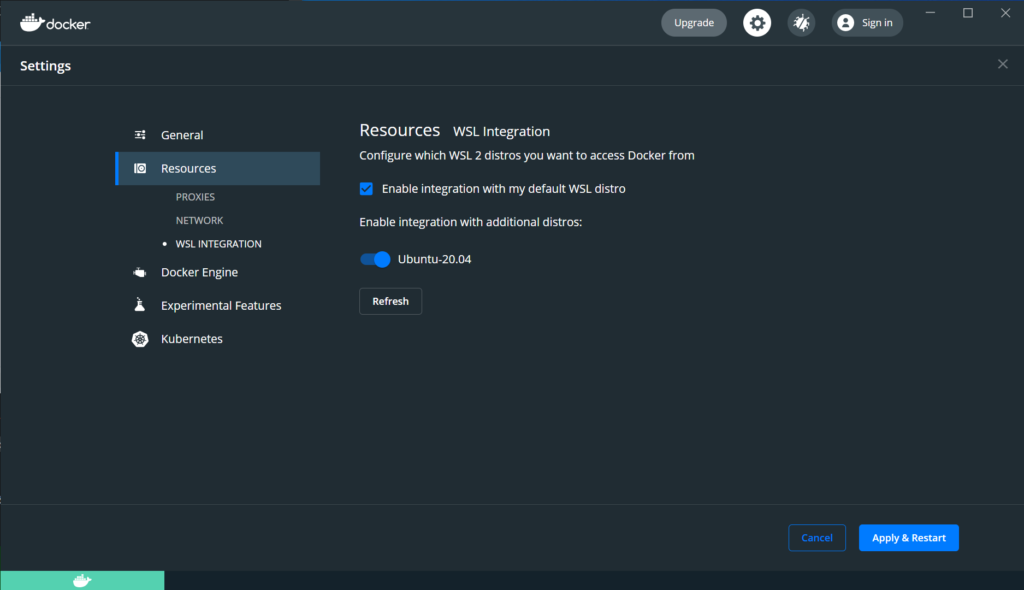
ここではUbuntu-20.04を有効にしています。
これでWSLからDocker Desktopを利用することができるようになりました。
動作確認
WSLのLinuxコンソールを表示し、Docker Desktopが使えることを確認します。
コンソールで以下のコマンドを入力します。
$ docker --version
Dockerのバージョンが表示されれば動作しています。
Docker version 20.10.5, build 55c4c88
今度は以下のコマンドを入力してコンテナを起動してみましょう。
$ docker run hello-world
これはデフォルトで存在している「Hello from Docker!」と表示するコンテナです。
以下の画面が表示されればコンテナが起動しています。
Unable to find image 'hello-world:latest' locally
latest: Pulling from library/hello-world
b8dfde127a29: Pull complete
Digest: sha256:308866a43596e83578c7dfa15e27a73011bdd402185a84c5cd7f32a88b501a24
Status: Downloaded newer image for hello-world:latest
Hello from Docker!
This message shows that your installation appears to be working correctly.
・・・・・
以下のコマンドでイメージ一覧を表示します。
$ docker images
REPOSITORY    TAG       IMAGE ID       CREATED      SIZE
hello-world   latest    d1165f221234   5 days ago   13.3kB
次に以下のコマンドでコンテナ一覧を表示して状態をみてみましょう。
$ docker ps -a
CONTAINER ID   IMAGE         COMMAND    CREATED       STATUS                   PORTS     NAMES
ffd42d3aa22b   hello-world   "/hello"   2 hours ago   Exited (0) 2 hours ago             stoic_bouman
hello-worldアプリは終了しているので、状態(STATUS)はExited(終了)しています。
コンテナ名は指定せずに実行すると自動的に名前が割り当てられます。
ここでは「stoic_bouman」という名前になっています
コンテナとイメージを削除するには以下のコマンドを実行します。
まずはコンテナを削除します。
$ docker rm stoic_bouman
次にイメージを削除します。
$ docker rmi hello-world
Untagged: hello-world:latest
Untagged: hello-world@sha256:308866a43596e83578c7dfa15e27a73011bdd402185a84c5cd7f32a88b501a24
Deleted: sha256:d1165f2212346b2bab48cb01c1e39ee8ad1be46b87873d9ca7a4e434980a7726
Deleted: sha256:f22b99068db93900abe17f7f5e09ec775c2826ecfe9db961fea68293744144bd
コンテナ一覧やイメージ一覧表示のコマンドを実行しても何も表示されないと思います。
以上でWSL2環境でDockerを使うことができるようになりました。