
Visual Studio CodeのPython拡張機能でJupyter Notebookを使う方法を解説します。

Visual Studio CodeでJupyter Notebookを使うための準備
Microsoftから提供されているエディタVisual Studio Code(VSCode)は、Pythonをデバッグするための環境を作るPython拡張機能をインストールすると、Jupyter NotebookをVSCodeで使うことができるようになります。
まず、以下の拡張機能をインストールします。
・Python
VSCodeの画面左の拡張機能メニューアイコンをクリックし、それぞれの拡張機能を検索してインストールします。

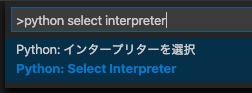
拡張機能のインストールが終わったら、コマンドパレットを開きpython select interpreterを入力し「Python:インターブリターを選択」を表示しクリックします。
コマンドパレットはMacは「Shift+⌘+P」、Windowsは「Shift+Control+P」で開きます。
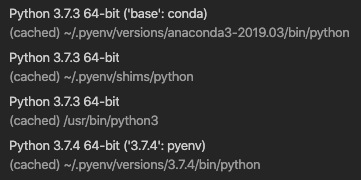
そこで表示されるPython実行環境リストの中で、Jupyter NotebookがインストールされているPython実行環境を選択します。
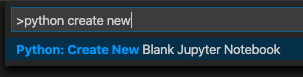
次に、ノートブックを作成します。
コマンドパレットを開きpython create newを入力し「Python: Create New Blank Jupyter Notebook」をクリックします。
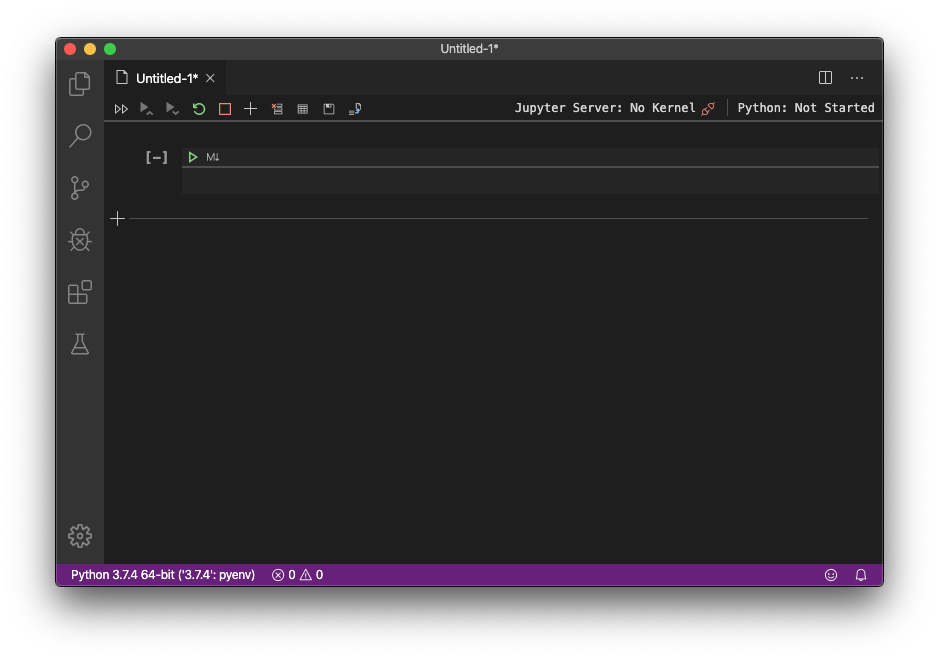
すると、ブラウザで表示するJupyter Notebookと同じような画面が表示されます。
スクリプトの実行
セルに以下のコードを入力して動作させてみましょう。
print('Hello World!')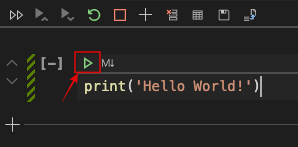
実行はセル上部の矢印キーを押します。
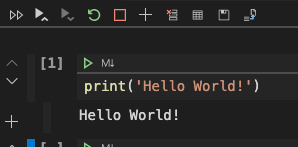
するとセルの下に結果が表示されます。
それではグラフを表示してみましょう。

グラフも表示できました。
VSCodeでJupyter Notebookが使えるとコーディング中の確認作業などがしやすくなりますね。
ノートブックの保存とツールバー機能
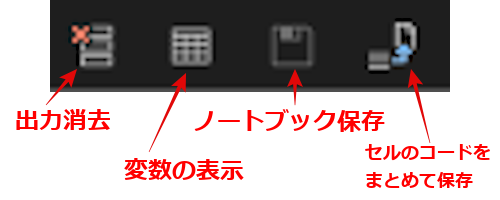
ノートブックを保存するには、ツールバーにある保存ボタンを押します。
キー操作はMacは「⌘+S」、Windowsは「Control+S」で保存できます。
「.ipynb」ファイルが保存されます。

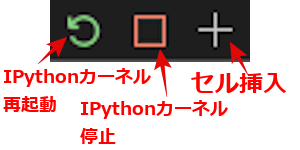
また、ツールバーにある他のボタン機能は以下です。

最後に
VSCodeではJupyter Notebookも使えるしデバッグも使えると、1つのツールでPython開発の多くの作業ができます。
そんなVisual Studio CodeがJavaScriptで書かれているというのも驚きですね。